To build a network, routers and switches are indispensable, but many network workers are so immersed at work that they are limited. Now imagine a scenario where you are having an interviewing, and the interviewer asks you a question: “What configurations do routers and switches need in a complete project?” It’s most likely that you can’t blurt it out for you need some time to figure it out. The reason may be that you always execute the process without thinking about the logic behind it.
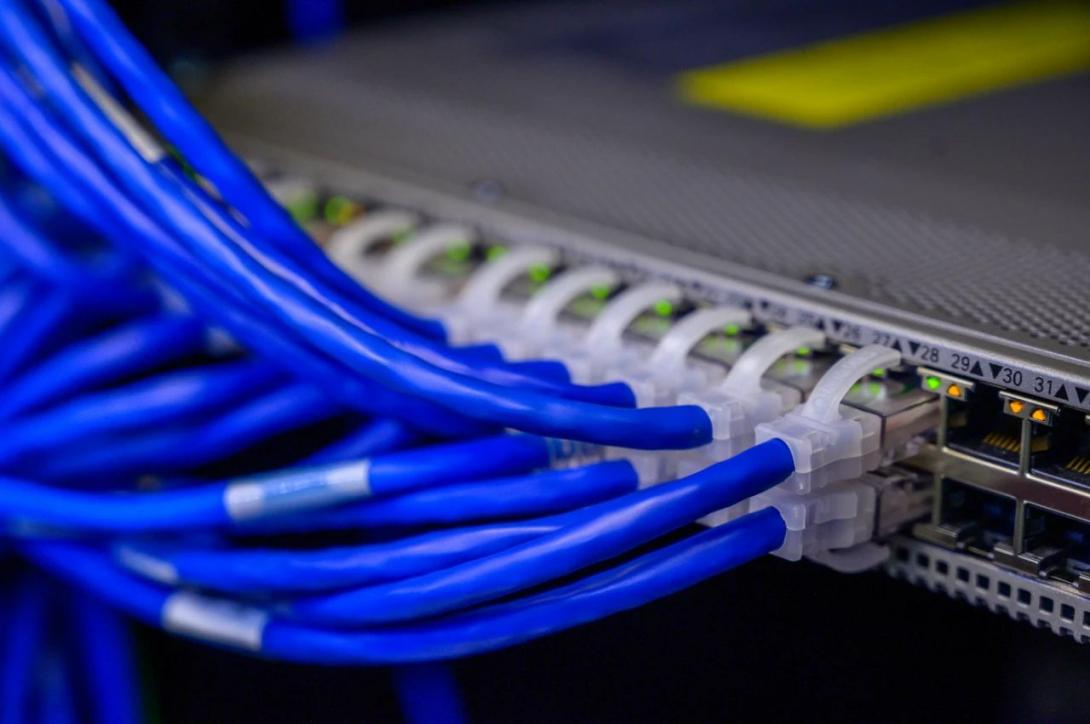
A switch
1. Configure management address
Each switch needs to be configured with a management address to facilitate later remote maintenance.
All switches and other network devices in the network can use a management VLAN, such as VLAN 400. The IP addresses of the devices are planned uniformly throughout the network and are isolated from the office network and service network.
Let’s take Ruijie switch configuration for example:
How to configue:
Remotely manage the device through the web management function. For Ruijie switch, there are generally four key points to configure web login:
(1) First select the Console method to log in to the switch
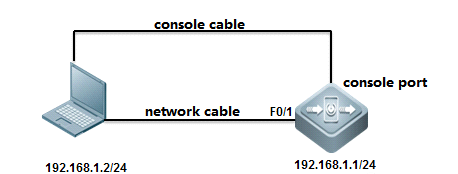
Login switch
(2) The web function needs to be enabled
(3) The default password for web login is the enable password, and the user name can be arbitrary or configured to log in with a specific user name and password.
(4) If the PC and the switch are not in the same network segment, you need to configure the default gateway of the switch.
01. Configuration steps:
(1) Enable the web service function of the switch
Ruijie#configure terminal
Ruijie(config)#enable service web-server
(2) Configure the management IP address of the switch
Ruijie(config)#interface vlan 1 //Enter vlan 1 interface
Ruijie(config-if) # ip address 192.168.1.1 255.255.255.0 //
Set management ip 192.168.1.1 for vlan 1 interface
Ruijie(config-if) #exit //exit
(3) Use the local user name and password to log in when configuring the web interface
Ruijie(config-if)#exit
Ruijie(config)#username admin password ruijie //Configure the user name and password for web interface login
Ruijie(config)#username admin privilege 15 //The level of authority for configuring the user name logged in on the web interface is 15, and the level of authority for the default user name and password is 1, and the level of authority for web management needs to be 15.
Ruijie (config)#ip http authentication local //Configure web login to use local user name and password.
Ruijie(config)#end
Ruijie#write
Log in to the switch with WEB, open the browser of the computer, enter http://192.168.1.1, and press Enter to log in.
2. Configure remote login:
In many cases, the switch is located in the computer room, and it is necessary to manage the switch by configuring remote login to monitor the working status of the switch.
Commonly used remote login methods include telnet and SSH. Compared with the plaintext method of telnent, SSH is more secure;
After logging in to the switch, there are two authentication methods: password authentication and aaa authentication. The aaa authentication can carefully manage the authority and choose the appropriate method according to the environment of the intranet.
3. Configure VLAN data
For an enterprise network, it is usually necessary to divide different VLANs according to parts to isolate broadcast domains and networks.
First configure the global VLAN of the switch, assign different VLANs to the port according to the terminal connected to the port, and configure the port type as access mode;
Configure the interconnection port between the switches as trunk mode, and allow all VLANs to pass through to realize the interconnection within the LAN.
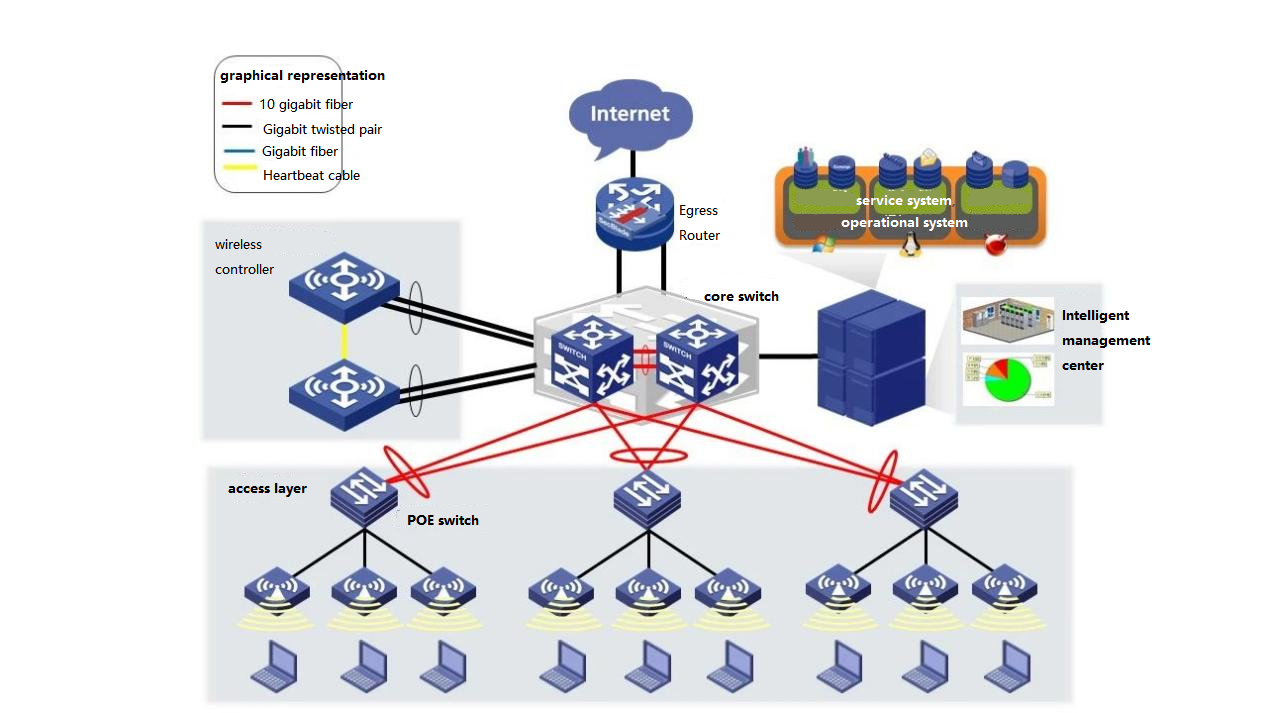
Interconnection within the LAN
Taking Huawei switches as an example to configure basic vlan data:
01. Create vlan
<Quidway> //User view, that is, run commands in Quidway mode.
<Quidway>system-view //Enter configuration view
[Quidway] vlan 10 //Create vlan 10 and enter vlan10 configuration view, if vlan10 exists, directly enter vlan10 configuration view
[Quidway-vlan10] quit //Return to configuration view
[ Quidway] vlan 100 //Create vlan 100 and enter vlan100 configuration view, if vlan10 exists, directly enter vlan100 configuration view.
[Quidway-vlan100] quit //Back to configuration view.
02. Add port to vlan
[Quidway] interface GigabitEthernet2/0/1 (10G optical port)
[Quidway- GigabitEthernet2/0/1] port link-type access //Define port transmission mode
[Quidway- GigabitEthernet2/0/1] port default vlan 100 //Add the port to vlan100
[Quidway- GigabitEthernet2/0/1] quit //Back to configuration view.
[Quidway] interface GigabitEthernet1/0/0 //Enter the configuration view of the first Gigabit Ethernet port on slot 1. 0 represents port 1.
[Quidway- GigabitEthernet1/0/0] port link-type access //Define port transmission mode
[Quidway- GigabitEthernet2/0/1] port default vlan 10 //Add the port to vlan10
[Quidway- GigabitEthernet2/0/1] quit
03. Add multiple ports to VLAN
<Quidway>system-view
[Quidway]vlan 10
[Quidway-vlan10] port GigabitEthernet 1/0/0 to 1/0/29 //Add ports 0 to 29 to vlan10
[Quidway-vlan10] quit
04. Configure Switch IP address
[Quidway] interface Vlanif100 // The entry to the vlan100 interface view is different from the entry to the vlan100 command
[Quidway-Vlanif100] ip address 119.167.200.90 255.255.255.252 // Define vlan100 management IP, Layer 3 switching gateway route
[Quidway-Vlanif100] quit / /Return to view
[Quidway] interface Vlanif10 // The entry to the vlan10 interface view is different from the entry to the vlan10 command
[Quidway-Vlanif10] ip address 119.167.206.129 255.255.255.128 // Define vlan10 management IP Layer 3 switching gateway route
[Quidway-Vlanif10] quit
05. Configure default gateway
[Quidway]ip route-static 0.0.0.0 0.0.0.0 119.167.200.89 //Configure the default gateway.
06. Save settings and reset commands of switch
<Quidway>save //Save the configuration information
<Quidway>reset saved-configuration //Reset the configuration of the switch
<Quidway>reboot //Restart the switch
4.Configure routing
If the switch is connected to an upper-layer routing device, related routing needs to be configured according to the connection method. Commonly used connection methods include ppp, static routing, dynamic routing, etc., to realize the connection of the egress link of the enterprise. After the above steps, the basic configuration of a Layer 3 switch has been completed, and it can be connected to the network. There are also some other configurations such as SNMP network management configuration, multicast data configuration, LCAP link aggregation configuration, etc., whose configurations are performed according to requirements.
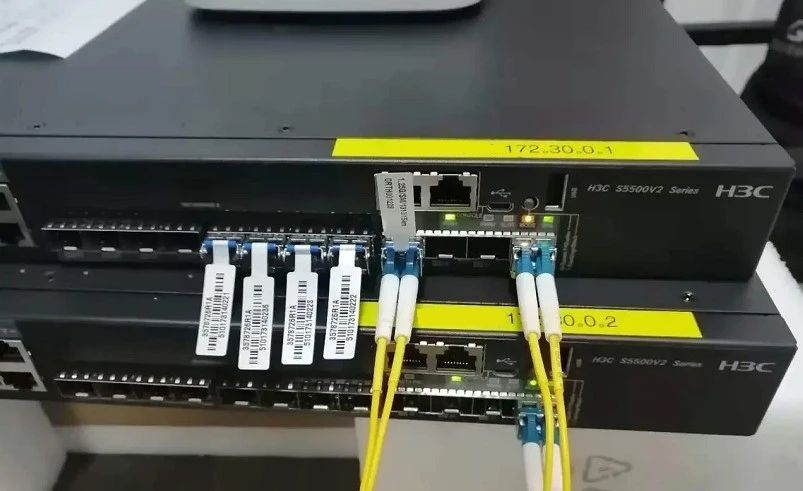
switch configuration
Of course, in addition to configuring switches, you also need to have a certain understanding of common network architectures. If you can understand the different topology diagrams, then you are familiar with the network architecture.
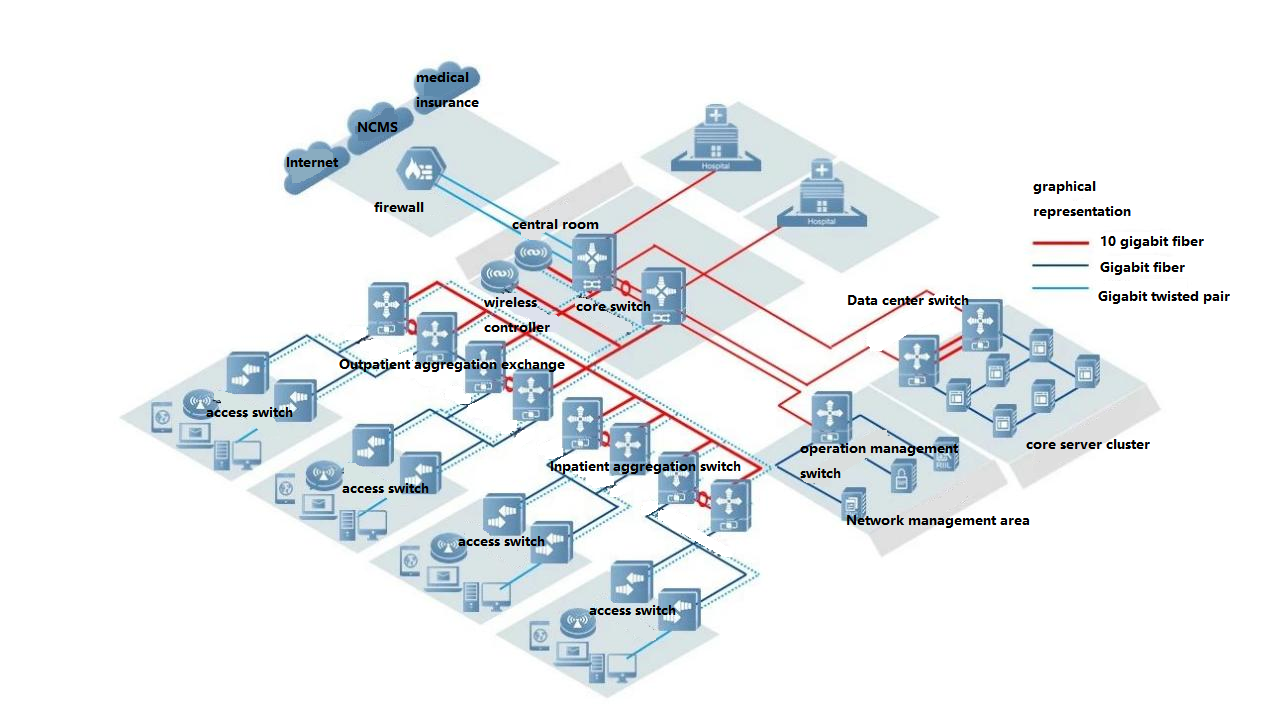
An example of Topology
Related Products:
-
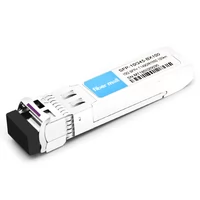
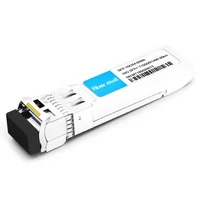
 SFP-10G45-BX100 10G BX SFP+ BIDI TX1490nm/RX1550nm 100km LC SMF DDM Transceiver Module
$650.00
-
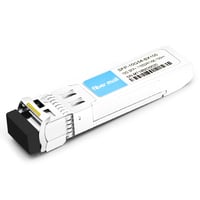
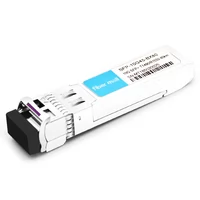
 SFP-10G54-BX100 10G BX SFP+ BIDI TX1550nm/RX1490nm 100km LC SMF DDM Transceiver Module
$650.00
-
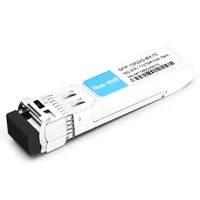
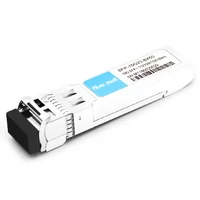
 SFP-10G23-BX70 10G BX SFP+ BIDI TX1270nm/RX1330nm 70km LC SMF DDM Transceiver Module
$100.00
-
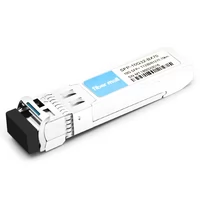
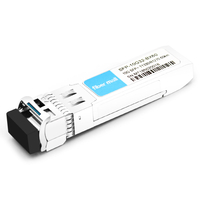
 SFP-10G32-BX70 10G BX SFP+ BIDI TX1330nm/RX1270nm 70km LC SMF DDM Transceiver Module
$100.00
-
 SFP-10G54-BX80 10G BX SFP+ BIDI TX1550nm/RX1490nm 80km LC SMF DDM Transceiver Module
$300.00
-
 SFP-10G45-BX80 10G BX SFP+ BIDI TX1490nm/RX1550nm 80km LC SMF DDM Transceiver Module
$300.00
-
 SFP-10G23-BX60 10G BX SFP+ BIDI TX1270nm/RX1330nm 60km LC SMF DDM Transceiver Module
$75.00
-
 SFP-10G32-BX60 10G BX SFP+ BIDI TX1330nm/RX1270nm 60km LC SMF DDM Transceiver Module
$75.00
-
 SFP-10G31-LRI 10G SFP+ LR 1310nm 10km LC SMF DDM Industrial High Temperature Transceiver Module
$20.00
-
 SFP-10G85-SRI 10G SFP+ SR 850nm 300m LC MMF DDM Industrial High Temperature Transceiver Module
$13.00
-
 SFP-10G-TS80 10GBase-T Copper SFP+ to RJ45 80m Transceiver Module
$55.00
-
 SFP-10G-TS 10G Copper SFP+ 30m RJ45 Transceiver Module
$45.00
-
 SFP-10G55-ZR120 10G SFP+ ZR 1550nm 120km LC SMF DDM Transceiver Module
$400.00
-
 SFP-10G55-ZR100 10G SFP+ ZR 1550nm 100km LC SMF DDM Transceiver Module
$280.00
-
 SFP-10G55-ZR 10G SFP+ ZR 1550nm 80km LC SMF DDM Transceiver Module
$150.00
-
 SFP-10G55-ER 10G SFP+ ER 1550nm 40km LC SMF DDM Transceiver Module
$80.00

